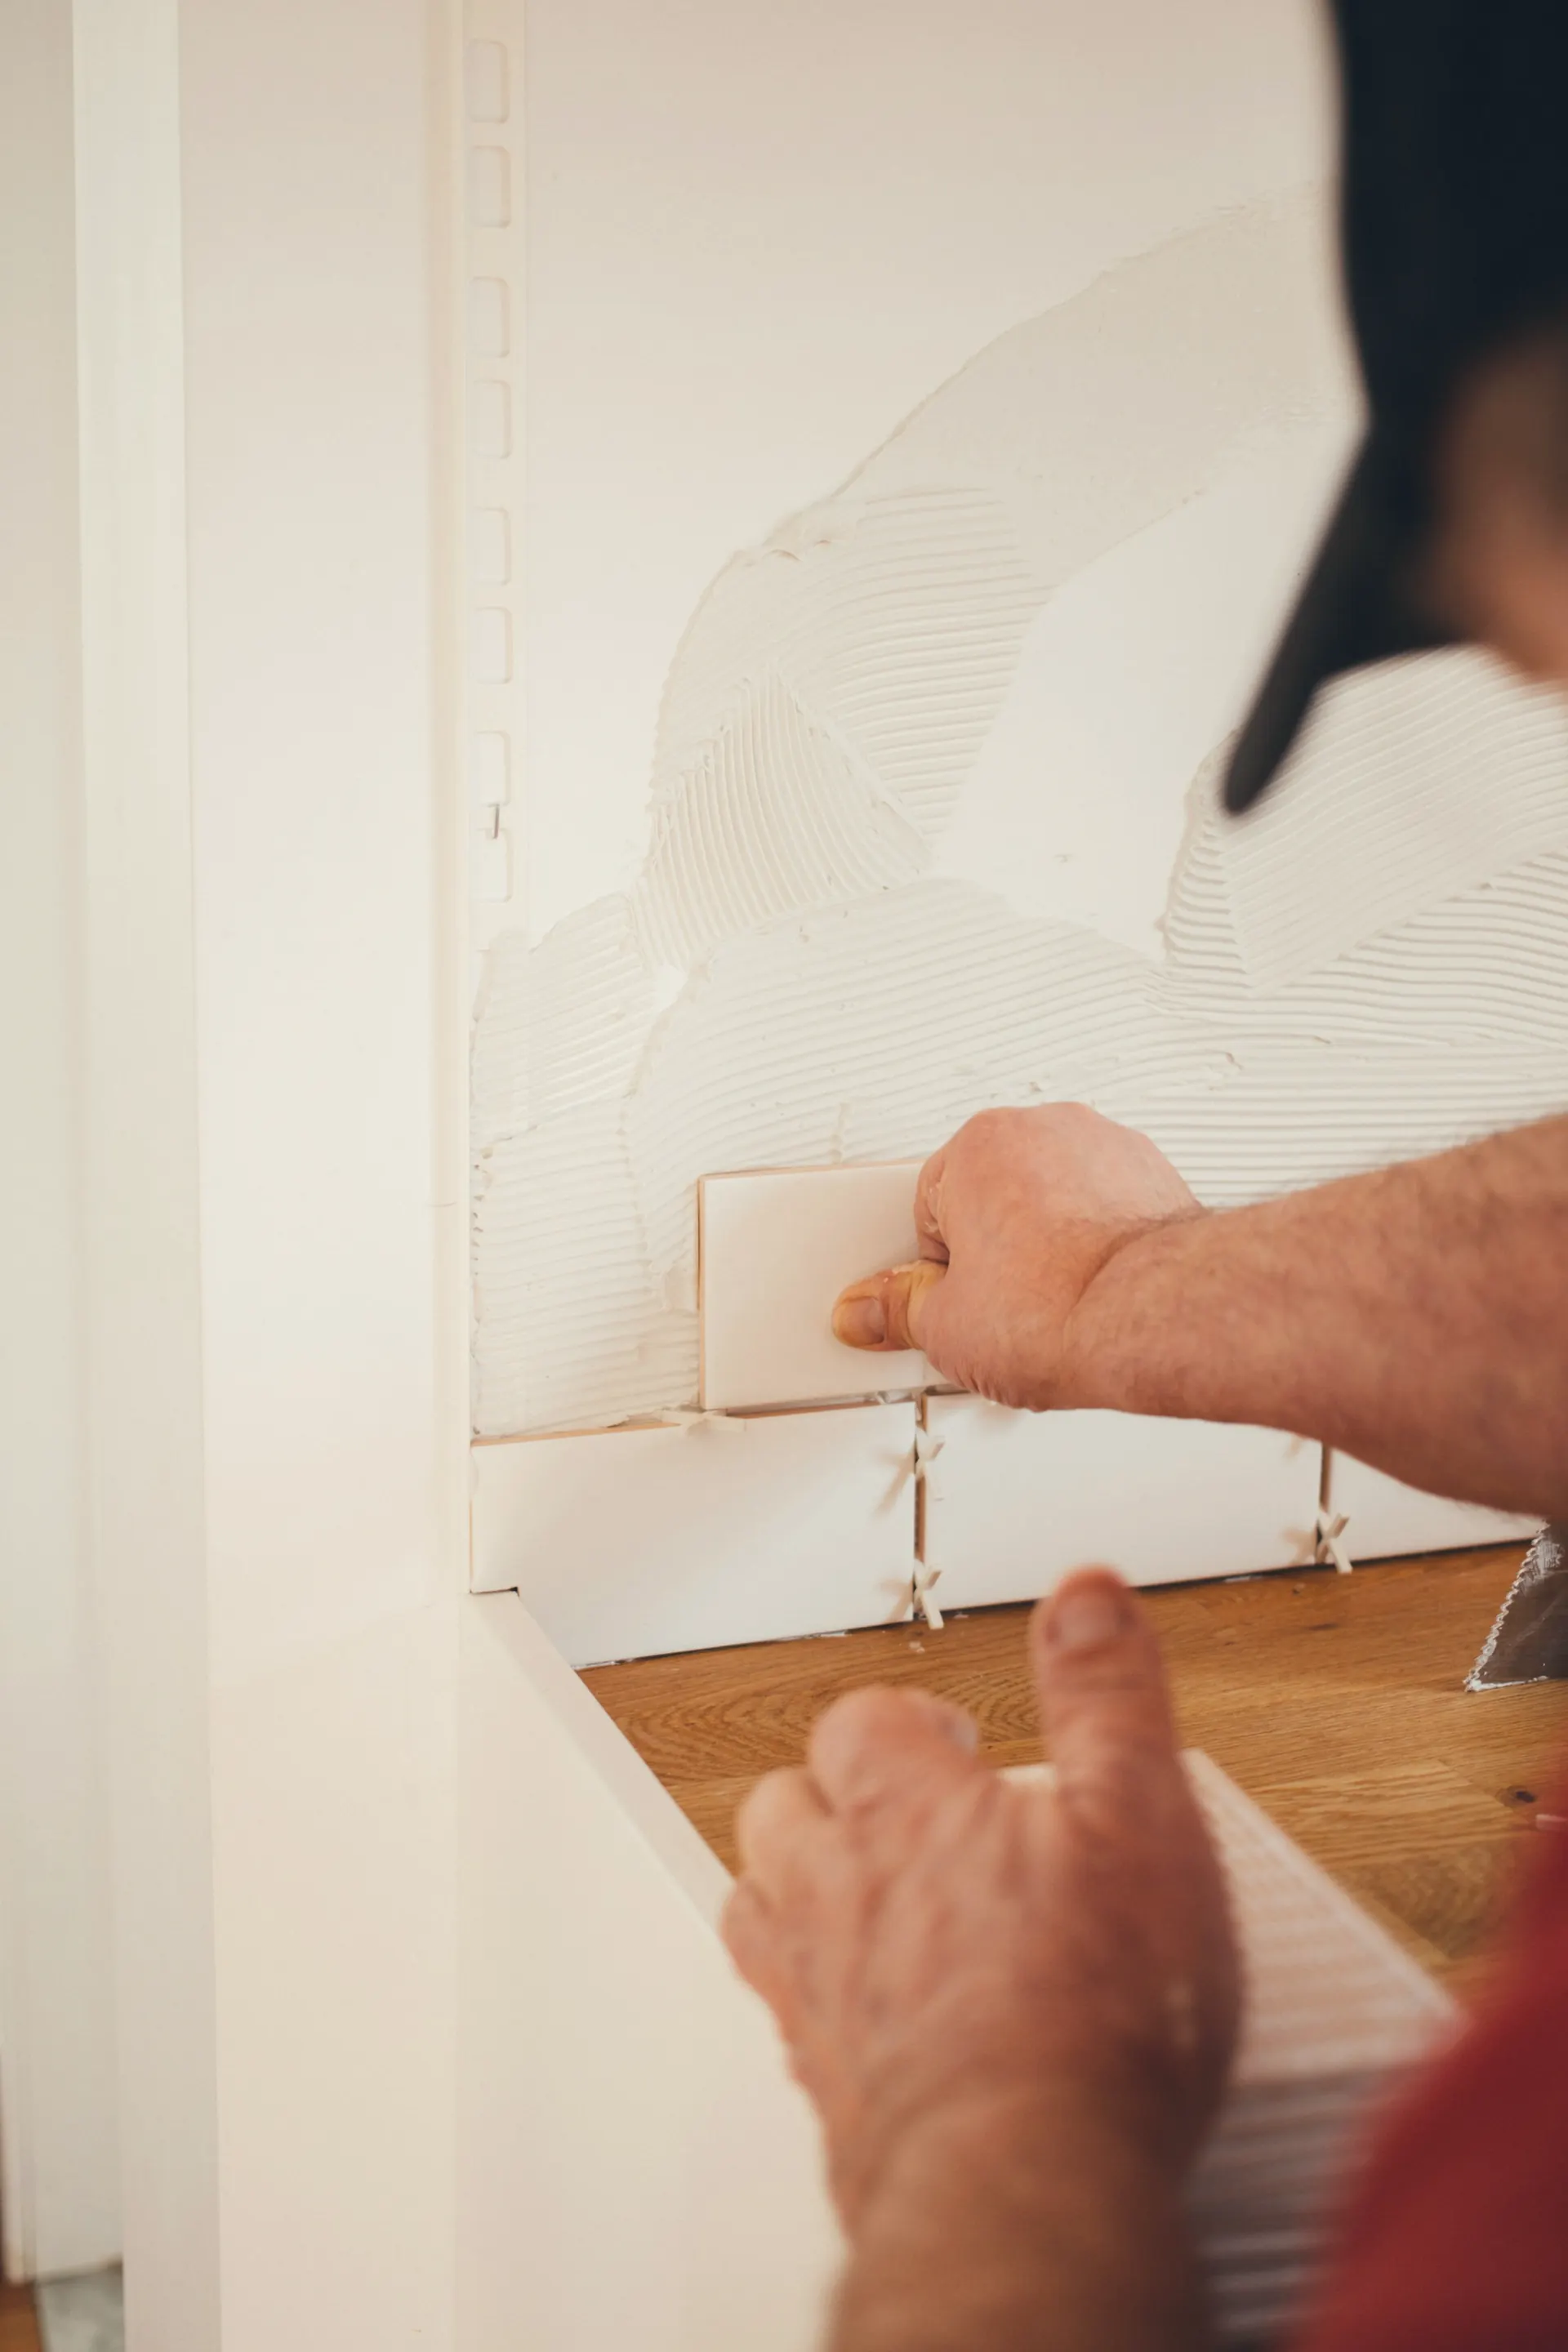
Most bad patches have the same problem: one thick coat, sanded hard, painted the same afternoon. The result is a bump you can see from across the room when the light hits it. Thin coats spread wider than you think is necessary are the whole trick.
Nail pops
A nail pop is a round bump or crack where a fastener has worked loose as the framing dries and shifts. Pushing the nail back in does not last.
Drive a screw beside it
Put a drywall screw about 1½ inches above or below the pop, into the stud, just below the surface without tearing the paper.
Set or remove the nail
Tap the old nail below the surface with a nail set, or pull it out.
Fill both
Two or three thin coats of compound over each, feathered out a few inches.
Small holes and dents
For anchor holes, picture-hanging holes and small dents, press lightweight spackle in with a putty knife, scrape it flush, and let it dry. Shrinking is normal; a second pass fixes it. Sand lightly and prime.
Doorknob-size holes (up to about 4 inches)
Clean the edges
Cut away loose paper and crumbled gypsum so the edges are firm. Sand any raised edges flat.
Apply a mesh patch
Center a self-adhesive patch over the hole and press it flat.
First coat
Spread compound over the patch with the 6-inch knife, pressing it into the mesh. Keep it thin. You should still see the mesh pattern.
Second and third coats
Once dry, use the 10-inch knife and feather each coat 2 to 3 inches wider than the last. Apply pressure on the outer edge of the knife so the edges go to nothing.
Sand and check
Sand lightly. Hold a flashlight flat against the wall; shadows show the high spots.
Larger holes
Cut a clean square
Draw a square around the damage and cut it out with a drywall saw. Check for wires and pipes first.
Add backing
Screw two strips of scrap wood or furring strip inside the opening, top and bottom, so they overlap the edges.
Fit the patch
Cut drywall of the same thickness (usually ½ inch on walls) to fit and screw it to the backing.
Tape and coat
Run paper or mesh tape over the seams, then three thin, widening coats as above.
Matching texture and paint
If your walls have orange-peel or knockdown texture, spray texture cans get you close. Practice on cardboard first. Prime the patch before painting, or the repair will flash: dull and visible through the new paint. For best results, paint the wall corner to corner.
Common questions
How long should each coat dry?
Premixed compound usually needs 12 to 24 hours per coat, longer in a cold or humid room. Thin coats dry faster.
Why does my patch show through the paint?
Usually because it was not primed, or the edges were not feathered wide enough. Prime, then paint the whole wall.
Our guides are general information for typical homes. Codes, permits and conditions vary, so check local rules, and leave gas, main electrical panel and structural work to a licensed professional.