A running toilet is the most common plumbing call we get, and most of the time the fix is a part that costs less than lunch. It is still worth doing quickly. A flapper that leaks slowly can waste a few hundred gallons a day, and you will see it on the water bill before you hear it at night.
First, find out which part is failing
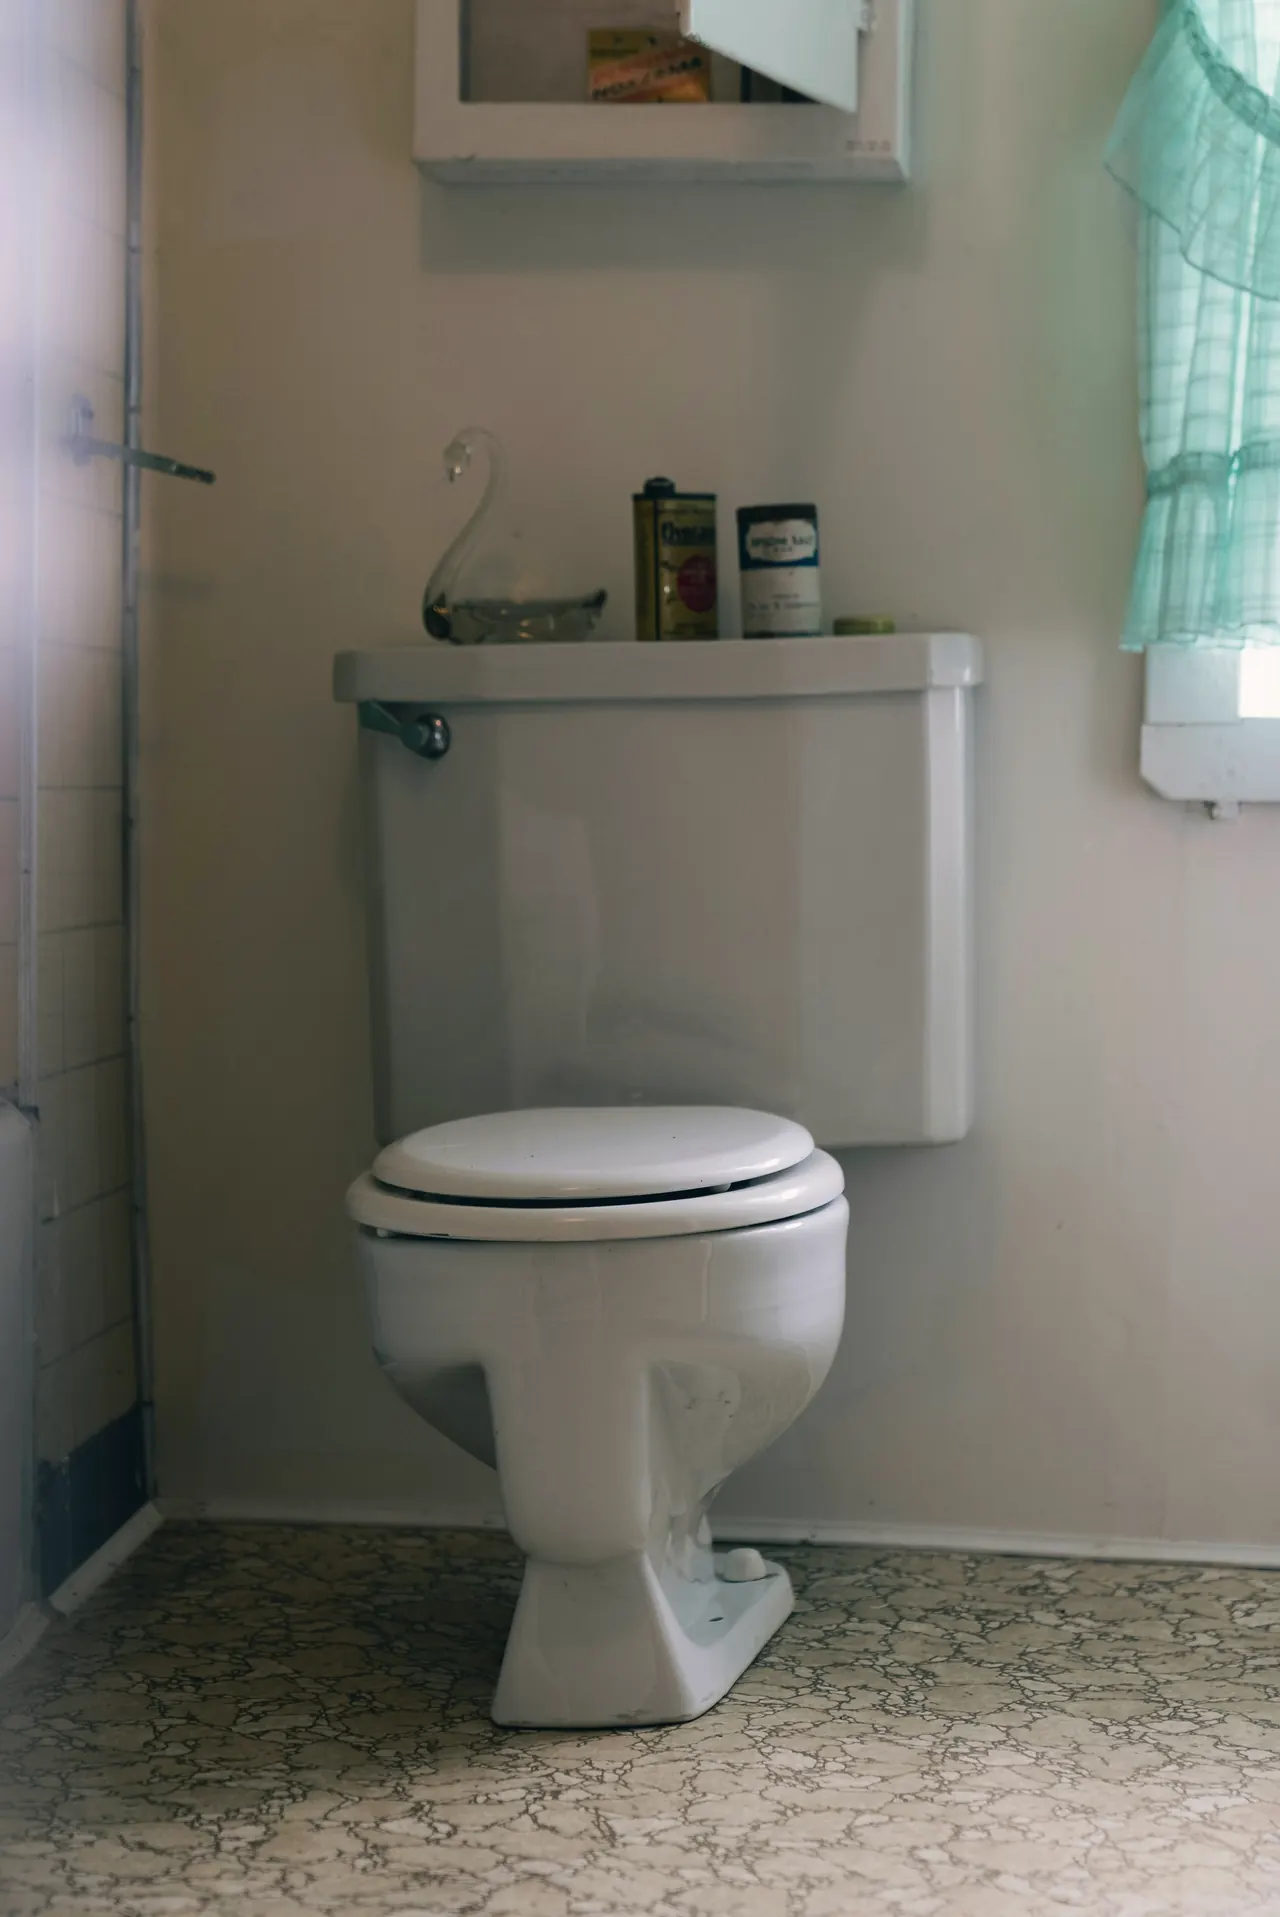
Take the lid off the tank and set it somewhere flat and soft. Tank lids crack easily, and a new one is hard to match.
Check the water level
Look for the overflow tube, the open pipe in the middle of the tank. If water is pouring into it, the fill valve is not shutting off in time. The water line should sit about an inch below the top of that tube. Most tanks have the line marked on the inside wall.
Run the dye test
If the level looks right, put ten drops of food coloring in the tank and do not flush. Wait 15 minutes. If color shows up in the bowl, water is getting past the flapper. That is your leak.
Look at the chain
A chain that is too tight holds the flapper slightly open. One that is too long can get trapped under it. You want about half an inch of slack when the flapper is closed.
Replacing the flapper
Shut off the water
Turn the oval valve behind the toilet clockwise until it stops. If it will not budge or it drips, leave it alone and read our shut-off valve guide first.
Drain the tank
Flush and hold the handle down so most of the water drains. Sponge out what is left.
Remove the old flapper
Unhook the chain from the handle arm. Pull the flapper ears off the pegs on either side of the overflow tube. Some slide over the tube itself with a ring.
Clean the seat
Run your finger around the rim the flapper sits on. If it feels gritty, scrub it with a non-scratch pad. Mineral buildup here is why many new flappers still leak.
Fit the new one
Hook it on the same way, attach the chain with half an inch of slack, and trim the extra so it cannot fall under the flapper.
Test
Turn the water back on, let the tank fill, flush a few times, then repeat the dye test.
Replacing a fill valve
If adjusting the float does not stop water reaching the overflow, or the valve hisses and drips no matter what you do, replace the whole valve. A universal fill valve fits nearly every residential toilet and comes with instructions printed on the package.
Shut off and drain
Same as above, but also sponge the tank completely dry. Keep a towel on the floor under the supply line.
Disconnect the supply line
Unscrew the coupling under the tank by hand or with pliers. A cup of water will come out.
Remove the old valve
Hold the valve inside the tank and unscrew the large plastic nut underneath. Lift the old valve out.
Set the height
Adjust the new valve so the top of it sits at least an inch above the overflow tube. The package shows how.
Install and connect
Push it through the hole, tighten the nut hand-tight plus a quarter turn, clip the refill tube to the overflow tube, and reconnect the supply line.
Set the water level
Turn the water on and adjust the float until the tank fills to the line.
When it is something else
If the tank empties into the bowl slowly even with a new flapper, the flush valve seat may be cracked or badly pitted. Replacing it means taking the tank off the bowl. It is doable, but it is a bigger job, and on an old toilet it is often better value to replace the whole toilet.
Water on the floor is a different problem. If it appears after a flush, look at the supply line and the tank bolts first. If it seeps from under the base, the wax ring has failed.
Common questions
Why does my toilet run for a few seconds every so often?
That is called phantom flushing. Water is leaking slowly past the flapper, the level drops, and the fill valve tops it up. A new flapper almost always fixes it.
Can I just bend the float arm?
On older ball-and-arm valves, yes, gently. On modern valves, use the adjustment screw or clip instead.
How long should a flapper last?
Usually four to five years. Chlorine tablets in the tank wear them out much faster, so we suggest not using them.
Our guides are general information for typical homes. Codes, permits and conditions vary, so check local rules, and leave gas, main electrical panel and structural work to a licensed professional.